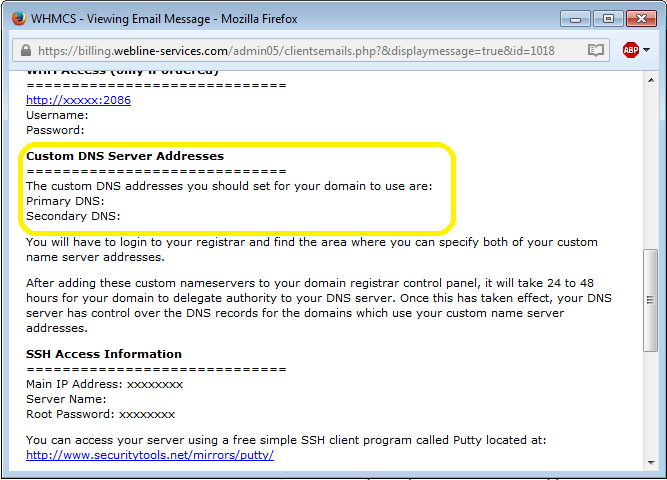
If you are using an existing domain with your new hosting account, you will need to update the nameservers to point to the nameservers we have listed for you in the welcome email we sent you.

You can do this by logging in to your client area. http://webline-services.com/
From there you will click on the menu “DOMAINS” this action will open up a drop-down menu with various options, in this case you will need to look for the option “My Domains”.
Client Area -> Domains -> My Domains
You should now see a list of all the domains you have purchased from us using your account. Now you must locate the account you wish to edit the nameservers for within the list. Once you have done located the domain you will see to the right hand side the button “Manage Domain”, click on the arrow next to it, it will open a drop-down menu with the option “Manage Nameservers” click on it.
You are now in the Nameservers menu, from here you can use custom nameservers to point your domain to the corresponding server. To do this select the option “Use custom nameservers (enter below)”, this will allow you to edit the Nameserver 1-5 textboxes. Add the corresponding nameservers which you can find in the welcome email we sent you. After you have finished adding the nameservers (generally you will only use nameserver 1 & 2) click on “Change Nameservers” button.
Note: If your domain was not purchased through Webline-services, you will have to login to your registrar and find the area where you can specify custom name server addresses.
After adding the custom nameservers successfully to your domain registrar control panel, it will take 24 to 48 hours for propagation.
